 English
 España
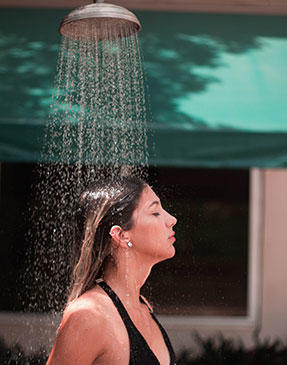
How to Remove and Replace a Showerhead?
.jpg?imageView2/2/format/jp2)
Supplies Needed
- Pliers
- Wrench
- Clean soft cloth
- Plumber’s tape
- Shower arm
- Flange (often comes with shower arm)
- Showerhead
Step-by Step Directions
Whether you’re simply switching showerheads or getting a new shower arm, too, these five steps will make it a smooth transition.
.jpg?imageView2/2/format/jp2)
Step 1: Loosen Up
Turn off the water supply to the shower. If you’re keeping the shower arm, wrap a cloth or plumber’s tape around both ends of the arm to protect it from scratches. Grip the shower arm with pliers while using a wrench to turn the nut counterclockwise.
Turn off the water supply to the shower. If you’re keeping the shower arm, wrap a cloth or plumber’s tape around both ends of the arm to protect it from scratches. Grip the shower arm with pliers while using a wrench to turn the nut counterclockwise.
.jpg?imageView2/2/format/jp2)
Step 2: Out With the Old
Unscrew the showerhead. Remove the screw holding the flange in place, then remove the flange. Unscrew the shower arm using pliers at the base.
If the showerhead is stuck, soak the cloth in white vinegar, wrap it around the nut on the showerhead, and let it sit for a few minutes to loosen mineral deposits.
.jpg?imageView2/2/format/jp2)
Step 3: Prepare the Arm
Wipe around the hole in the wall to remove grime. Tightly wrap five layers of plumber’s tape clockwise around the end of the shower arm that goes into the wall. It’s important to wrap the tape in the opposite direction of how the arm will twist into place.
Wipe around the hole in the wall to remove grime. Tightly wrap five layers of plumber’s tape clockwise around the end of the shower arm that goes into the wall. It’s important to wrap the tape in the opposite direction of how the arm will twist into place.
.jpg?imageView2/2/format/jp2)
Step 4: Secure Connection
Attach the end of shower arm into the pipe in the wall, turning clockwise. (Because you wrapped the tape clockwise in Step 3 as well, it’s now turning counterclockwise, making a tight bond.) Replace the flange. Wrap three layers of tape around the exposed end of the shower arm.
Attach the end of shower arm into the pipe in the wall, turning clockwise. (Because you wrapped the tape clockwise in Step 3 as well, it’s now turning counterclockwise, making a tight bond.) Replace the flange. Wrap three layers of tape around the exposed end of the shower arm.
.jpg?imageView2/2/format/jp2)
Step 5: Finish the Job
Screw the showerhead into place by hand. Protect the showerhead joint with a cloth or tape and then tighten with a wrench, turning clockwise, to prevent leaks and water-pressure issues.
Screw the showerhead into place by hand. Protect the showerhead joint with a cloth or tape and then tighten with a wrench, turning clockwise, to prevent leaks and water-pressure issues.


.jpg?imageView2/2/w/320/h/320/format/jpg/q/75 "YS28401-MG Ceramic above counter basin, artistic basin, ceramic sink;")